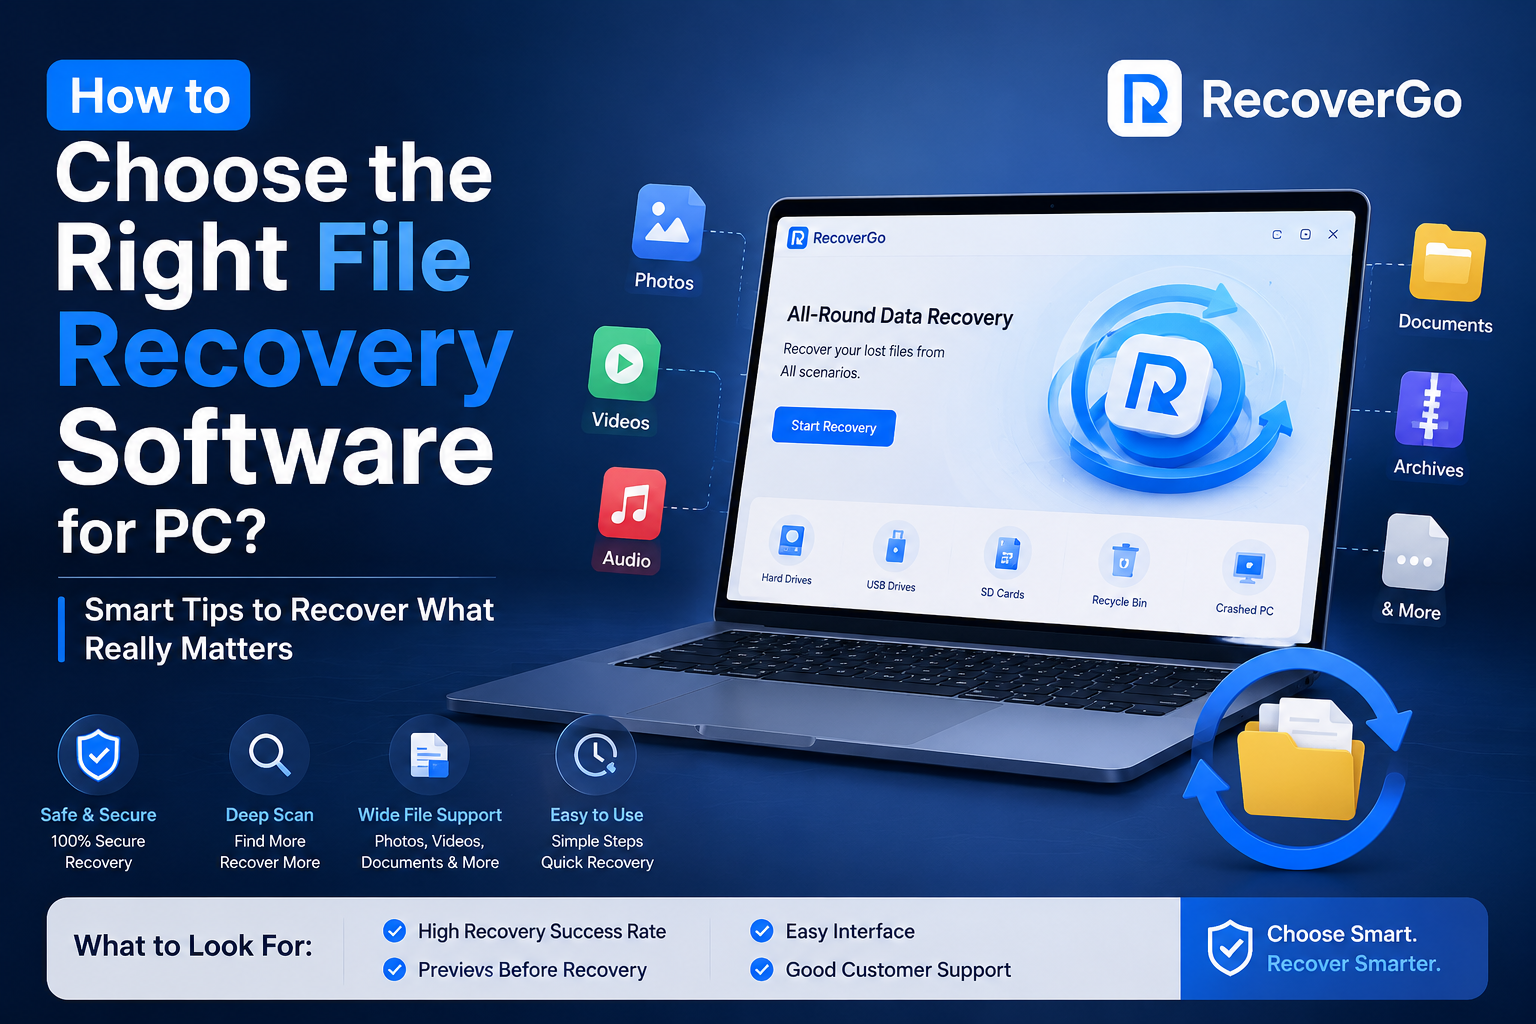
File loss always seems to happen at the worst possible moment — you empty the Recycle Bin a beat too soon, a drive suddenly shows up as "not formatted," or your laptop crashes mid-project and takes a folder with it. The panic is identical no matter the cause, and the instinct that follows is the same too: search for file recovery software for PC.
The problem is that search returns dozens of tools, and most of them claim to be the fastest, safest, or most powerful option available. Some genuinely are solid. Others barely skim the surface of your drive and call it a scan. This guide covers what actually matters when comparing recovery tools, and walks through how the recovery process itself generally works once you've picked one.
When Do You Actually Need Recovery Software?
Not every file hiccup requires dedicated recovery software, but a few common situations genuinely do:
- Accidental deletion — you delete files you didn't mean to, and only realize it later
- Formatted drives — a USB stick or external drive gets formatted, accidentally or on purpose
- System crashes — Windows won't boot, and whatever was on that drive is suddenly unreachable
- External storage failures — an SD card, flash drive, or portable hard drive that won't mount or shows signs of corruption
In nearly all of these cases, your files aren't actually gone in the way it feels like they are. The data typically remains physically present on the drive until something else overwrites it. That's exactly why recovery software works at all — and why it's worth choosing carefully rather than grabbing the first result that shows up.
What to Actually Look for When Comparing Tools
Recovery software varies a lot in practice, and the gap between tools usually only becomes obvious once you actually need one to perform under pressure. A few criteria are worth checking before you commit to anything:
Recovery capability. Does the tool handle deleted files, formatted drives, and crash-related data loss — or only the easiest cases? Some tools genuinely only recover the "low-hanging fruit" and struggle with anything more complex, like a reformatted partition.
Device and file compatibility. Confirm the tool actually supports what you're recovering from — internal drives, external hard drives, SD cards, USB sticks — and the specific file types you're trying to get back.
Preview functionality. Being able to see what's actually recoverable before committing matters more than it sounds. Without a preview step, you risk recovering a pile of corrupted or irrelevant files instead of the ones you actually need.
Ease of use and reliability. Can you follow the process without technical background, and does the tool consistently deliver results rather than failing unpredictably on certain drive types?
A tool that falls short on any of these four points tends to leave you either short on recovered files or worn down by an unnecessarily complicated process — not a great combination when you're already stressed about lost data.
How the File Recovery Process Generally Works
Most reputable recovery tools follow a fairly consistent workflow, regardless of which specific software you choose. Here's the general shape of it:
1. Install the software on a different drive than the one you're recovering from. This matters more than it might seem — installing directly onto the affected drive risks writing new data over the exact files you're trying to save.
2. Choose the location to scan. Point the software at the specific drive or folder containing your lost files, rather than scanning your entire system if you can avoid it.
3. Run the scan. Most tools run a quick scan first, followed by a deeper scan to catch anything the quick pass missed. Scan time varies a lot depending on drive size and condition — a larger or more damaged drive takes noticeably longer. Avoid using the computer while a deep scan is running, since ongoing activity can slow the scan and reduce recovery success.
4. Review the results before recovering anything. A good tool organizes findings by file type and path, and lets you preview individual files before committing. Skipping this step is how people end up "recovering" a folder full of unusable fragments.
5. Select and recover your files — to a different drive. Save recovered files somewhere other than the drive you scanned, so you don't risk overwriting data you haven't recovered yet. Once done, double-check the recovered folder against what you expected to get back.
Throughout this whole process, the single most important thing you can do is stop using the affected drive as soon as you notice data loss. Every additional write operation on that drive increases the odds that whatever you're trying to recover gets permanently overwritten.
The Bottom Line
Choosing file recovery software really comes down to a handful of practical questions: can it actually recover what you've lost, does it work with your specific device and file types, can you preview results before committing, and is it simple enough to use without outside help? A tool that falls short on any of those points is a real risk when the stakes are actual lost data, not a hypothetical.
Whichever tool you end up using, the process above — install elsewhere, scan without disturbing the drive, preview before recovering, save to a separate location — holds regardless of the specific software, and following it carefully meaningfully improves your odds of getting everything back intact.
If you're evaluating AI-powered productivity or backup tools more broadly, browse Humbaa's AI tools directory for related software. If you've built a tool in the data recovery or backup space, you can submit it to Humbaa to reach people actively searching for tools like it.